In diesem Artikel möchte ich Euch zeigen, wie Ihr die Alarmfunktion von HomematicIP mit einem Code zum aktivieren und deaktivieren über Home Assistant steuern könnt.
Hierzu benötigt Ihr drei Dinge:
- Home Assistant Manual Alarm Control Panel
- Die Alarm Card auf der Oberfläche
- Drei Automatisierungen
Home Assistant Manual Alarm Control Panel:
als erstes müsst Ihr folgenden Code in Eure configuration.yaml eintragen.
alarm_control_panel:
  - platform: manual
    name: Home Alarm
    code: 1234
    pending_time: 10
Nach einem Neustart des Home Assistant habt ihr ein neues Alarm_Control_Panel in Eurer Entity Liste.

Die Alarm Card auf die Oberflache:
Um die Card zu erstellen, müsst Ihr folgenden Code in Eure
ui-lovelace.yaml oder in den RAW-Editor eintragen.
- icon: mdi:bell
cards:
- type: alarm-panel
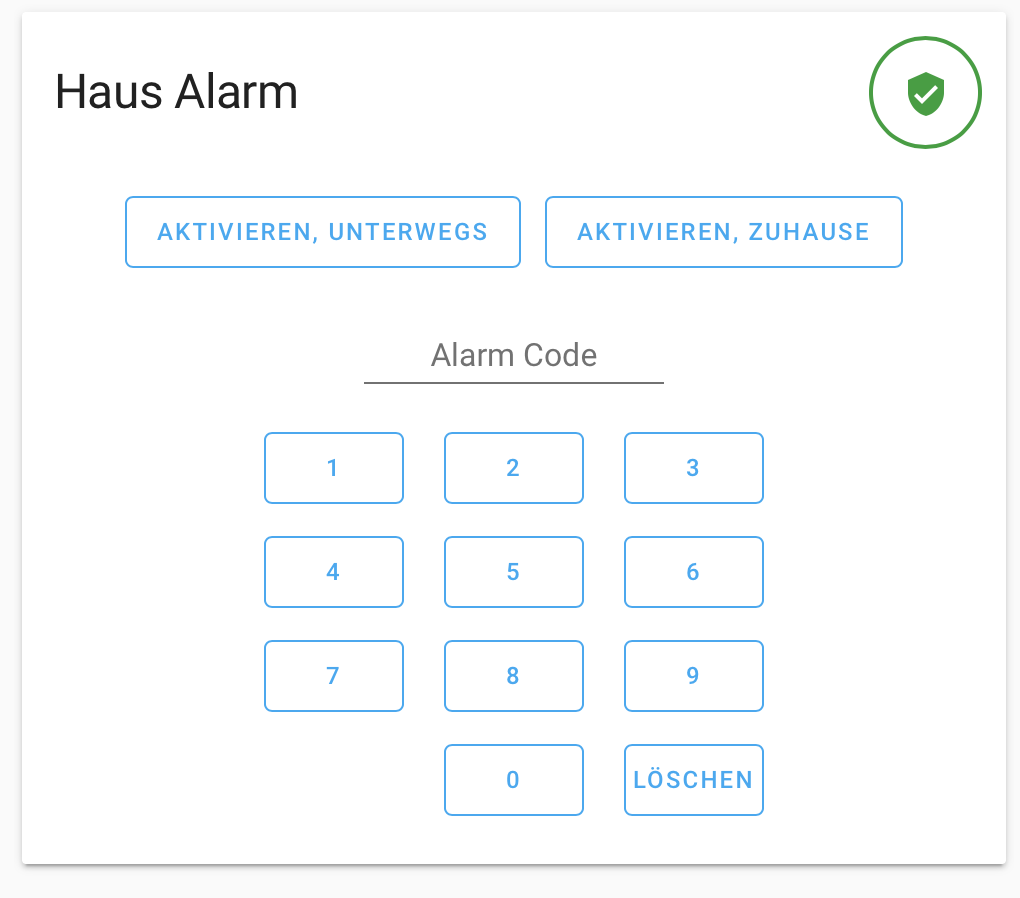
name: Haus Alarm
entity: alarm_control_panel.home_alarm
Anschließend solltet Ihr das oben im Artikel zu sehende Controlpanel haben.
Drei Automatisierungen:
Ich habe Euch die drei benötigten Automatisierungen für die automations.yaml hier zum kopieren hier eingetragen.
- id: '1552079906058'
  alias: Alarm Home
  trigger:
  - entity_id: alarm_control_panel.home_alarm
    from: pending
    platform: state
    to: armed_home
  condition: []
  action:
  - entity_id: alarm_control_panel.hmip_alarm_control_panel
    service: alarm_control_panel.alarm_arm_home
- id: '1552122798347'
  alias: Alarm Unterwegs
  trigger:
  - entity_id: alarm_control_panel.home_alarm
    from: pending
    platform: state
    to: armed_away
  condition: []
  action:
  - entity_id: alarm_control_panel.hmip_alarm_control_panel
    service: alarm_control_panel.alarm_arm_away
- id: '1552123028682'
  alias: Alarm disarmed
  trigger:
  - entity_id: alarm_control_panel.home_alarm
    from: armed_home
    platform: state
    to: disarmed
  - entity_id: alarm_control_panel.home_alarm
    from: armed_away
    platform: state
    to: disarmed
  condition: []
  action:
  - entity_id: alarm_control_panel.hmip_alarm_control_panel
    service: alarm_control_panel.alarm_disarm